
Origami Inflatable Goldfish Folding Instructions
This is a great traditional origami - the origami inflatable goldfish. Once you finish folding the origami, you have a chance to inflate it, just like the origami waterbomb.
Made this origami? Comment and Submit your photo using the comment box at the end of this page!
Origami Inflatable Goldfish Step 1: First, you need to make a waterbomb base. Follow the instructions on our origami waterbomb base page and you should have the following to start with.

Origami Inflatable Goldfish Step 2: Fold the right flap over to meet the center crease.

Origami Inflatable Goldfish Step 3: Now fold the left side to meet the center crease.

Origami Inflatable Goldfish Step 4: Fold the right tip over to the center.

Origami Inflatable Goldfish Step 5: Now fold the left tip over to the center.

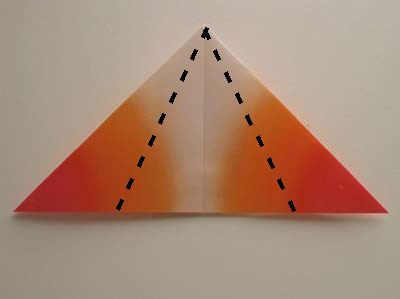
Origami Inflatable Goldfish Step 6: OK, we will now fold the top tips down on the dash line as shown below.


Origami Inflatable Goldfish Step 7: FLIP paper over.

Origami Inflatable Goldfish Step 8: We will now fold the right and left edges over to meet the crease in the center shown by the dash line below.


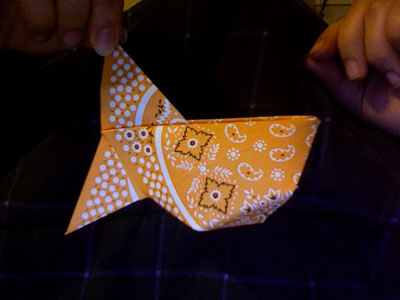
Origami Inflatable Goldfish Step 9: Fold the left flap only over to form a triangle as shown in the photo below.

Origami Inflatable Goldfish Step 10: Now, we'll bring the left flap over to the right. Follow the photos below.


Origami Inflatable Goldfish Step 11: Time to inflate the goldfish!! Take a deep breath and blow as hard as you can into the goldfish. The 1st photo below show the general area and the 2nd photo is a close-up whereby the arrow marks the spot to blow into.


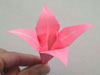
Origami Inflatable Goldfish Step 12: and there you have it! Your origami inflatable goldfish!
I must admit that my goldfish did not inflate as much as I thought it would. Did yours? Send us your photo and show us!

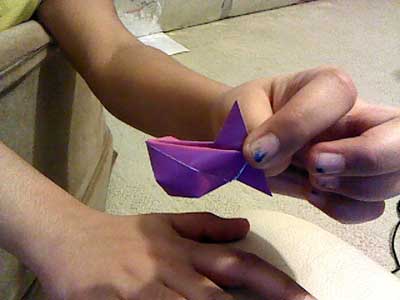
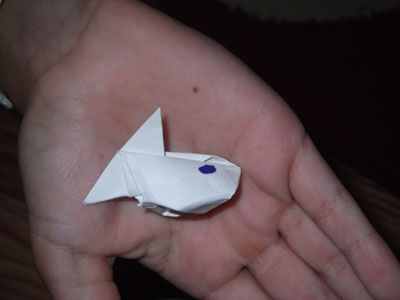
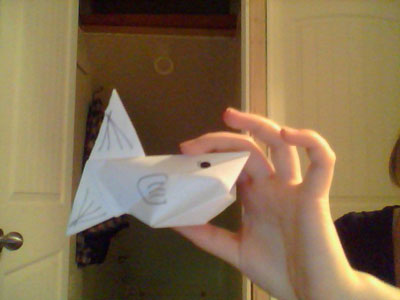
Thanks to Gir for this origami inflatable goldfish. "This is my origami inflatable goldfish. it inflated better cuz i tucked in the flaps instead of just folding them down."

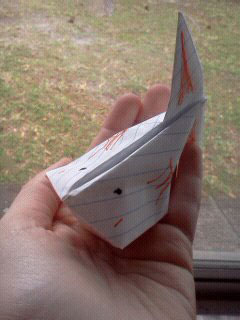
From reader in Anchorage:
From Anni in Paris " Origami inflatable goldfish! My first one I LOVE it!!! Thanks so much for helping me on the way. oh yeah, it is hard to inflate. "
From Jordi in Mason Ohio " I really liked making the inflatable origami fish and I hope my friends at school get to see this page. I did not have much trouble inflating this fish since I have already made an inflatable balloon. "
From MJ in Calamba " Took time to inflate it.. "

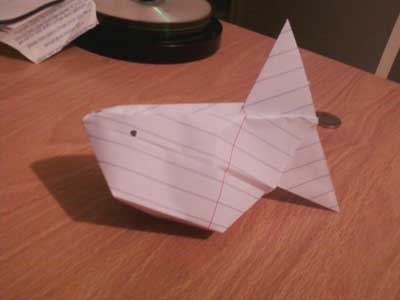
From reader in Philippines " This is my first try..!! i think it goes well.. i just use an ordinary school paper..! i didn't put eyes on it cuz i can't see any marker..!! nice instructions..!! "
From reader in Trenton "Origami inflatable fish. I think you guys should make a dragon, kangaroo, wolf, macaw stuff like that. thanks! "
From reader in Nacogdoches " This was a simple design to learn, and fun to do. :) "
From reader in Latur " origami goldfish my favorite fish "gold fish""
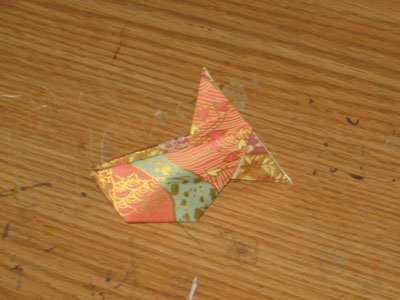
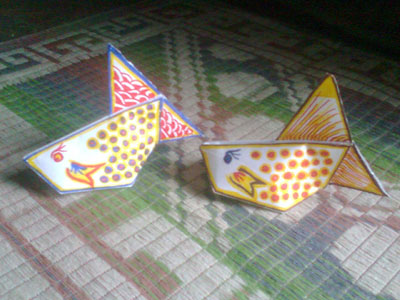
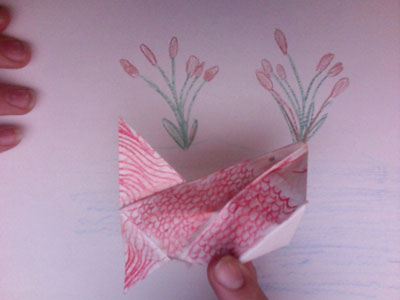
Very nicely decorated!
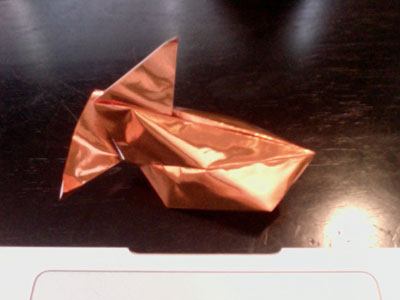
From reader in Mason " i decided to use a shiny gold but when i took the picture, haha the flash flash blinded me!! :D "
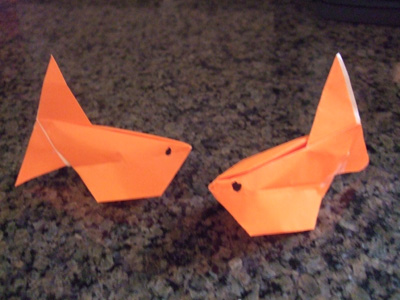
From Zoe in Canton " Goldfish, nicely inflated. "
From Maggie in Aberdeen:
From reader in Jacksonville:
From Meghan in Augusta " My gold fish! It took awhile to blow up but i got it! I made it a little background too."
From Noni " this is my super cute goldfish flippers :D "