

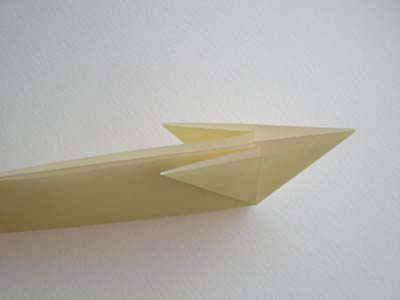
Origami Cow
The origami cow is so life-like you can practically hear the "moos". We'll try to not milk this one for laughs.
Made this origami? Comment and Submit your photo using the comment box at the end of this page!
Origami Cow
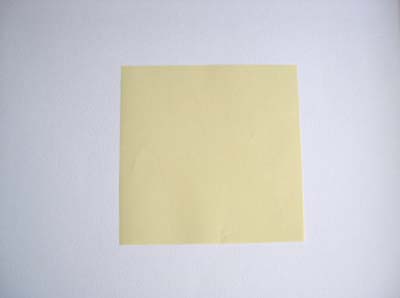
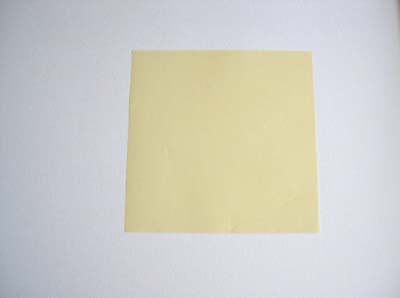
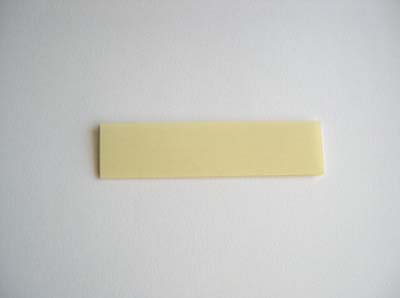
Start with a square 6" x 6" (15cm x 15cm) piece of origami paper. You can use an Animal Print Origami Paper to make your origami more realistic.
You can also use an 8 1/4 inch Animal Print Origami Paper to make a larger and more life-like origami!
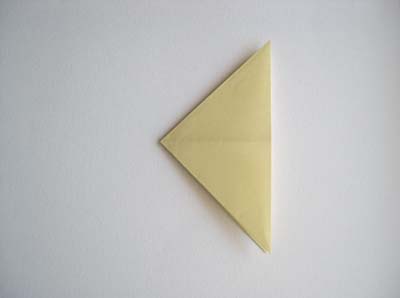
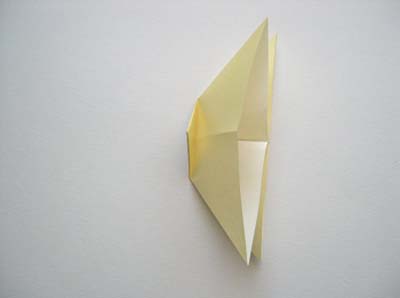
Then make a water balloon base.
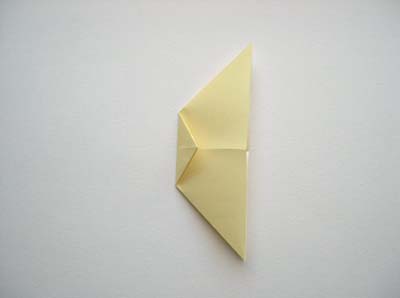
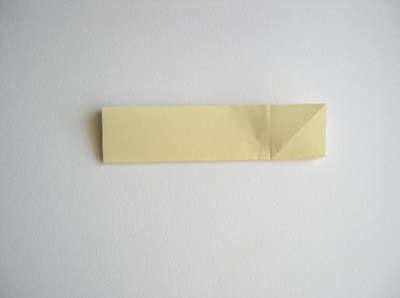
Next fold the tip of the balloon base down the centerline. The tip should cover about half of the folded length.
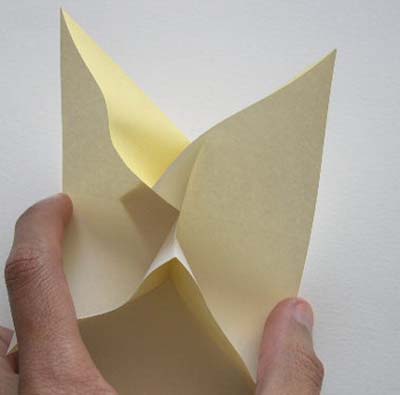
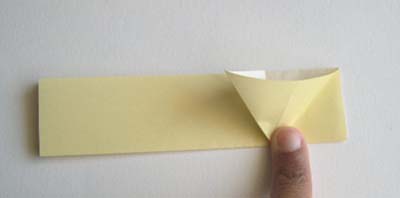
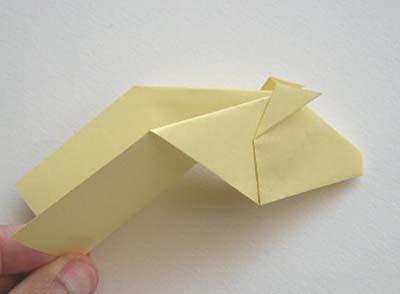
Now unfold the balloon base and squash fold it as shown.
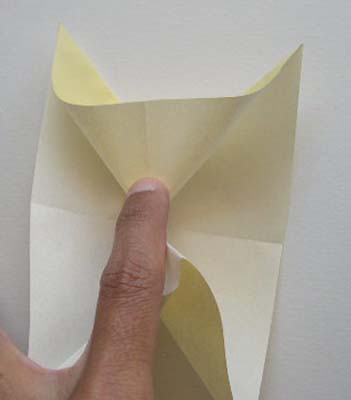
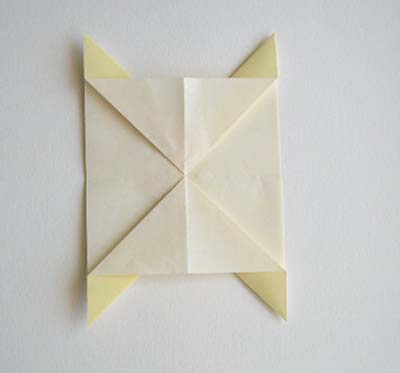
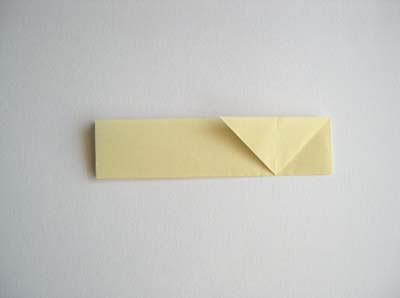
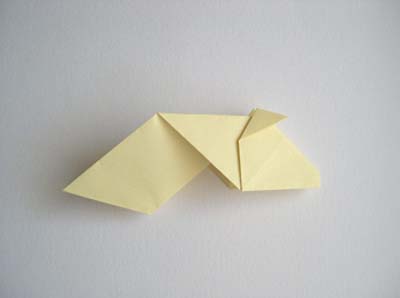
You will end up with the pattern in the next photo. Now simply fold this in half to make the cow's body.
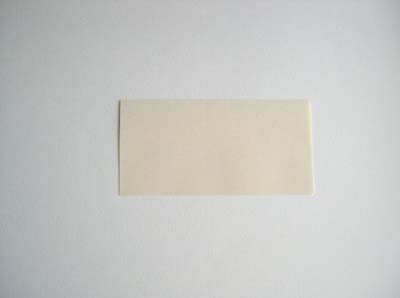
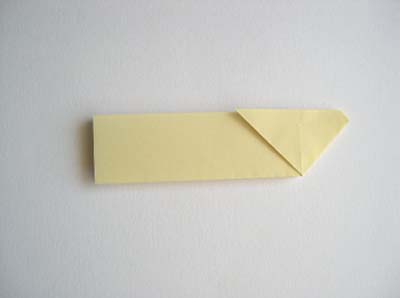
To make the origami cow's head, use another square of paper. Fold it in half with the colored side (if any) on the outside.
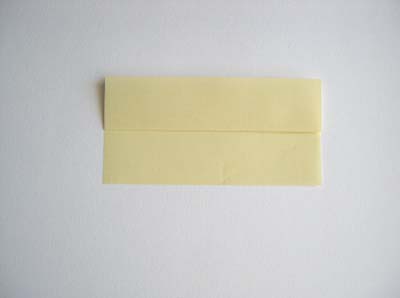
Next fold each half upwards, as shown in the next two photos:
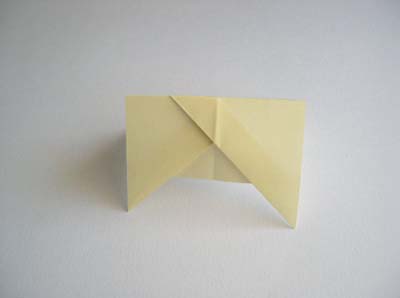
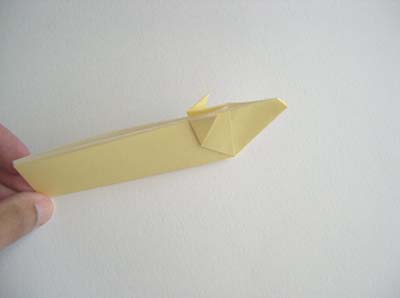
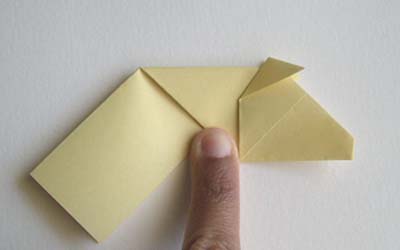
Now crease the end of the folded rectangle, as shown below. The next three photos show how the head is folded. Each outside layer of the folded rectangle is squash-folded backwards.
Now reverse fold the nose of the cow (reverse folds are explained here). Then fold the cow's ears forward.
Next, crease the neck of the cow at right angles to the head.
Then do a reverse fold, as shown in these two photos:
To make the neck fit into the body, reverse fold the bottom of the neck as shown below.
It can be tricky to get the right amount of fold: too little and it won't fit into the body, too much and the head will be front heavy and fall forward.
You may want to use a small piece of tape or glue to keep the head in place.
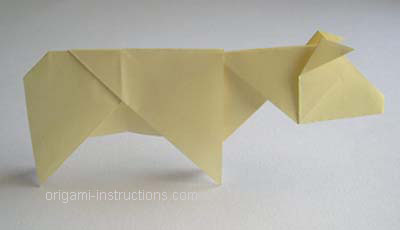
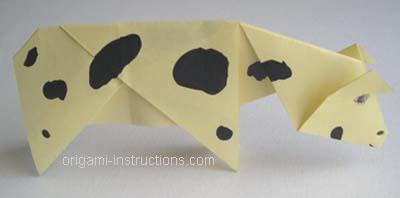
Now your cow is done. It can be decorated with pens, markers or crayons.
Origami. It's the cheese!TM
Check out the many origami cow photos that have been submitted by our readers!