
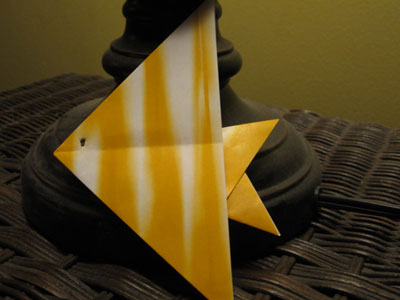
Origami Angelfish
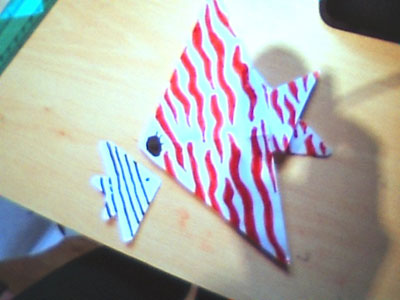
This is an easy origami angelfish. The striped origami paper really adds to the look of the angelfish. If you already know how to make a waterbomb base, then this angelfish only requires 2 more steps after the base!
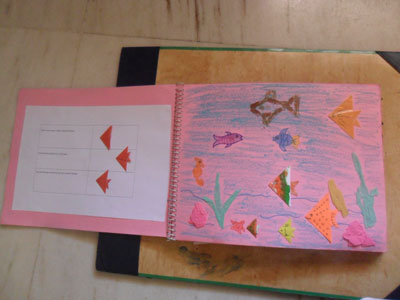
Made this origami? Comment and Submit your photo using the comment box at the end of this page!
Origami Angelfish Step 1: Start with a square 6" x 6" (15cm x 15cm) origami paper color side down.
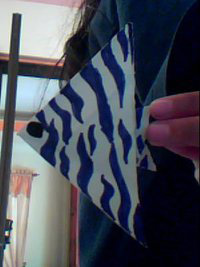
Do use an Animal Print Origami Paper
like we did to make your origami extra special.
Make a fold on the dash line as shown. Crease well and unfold. Alternatively, make a waterbomb base and skip to Step 7.
Origami Waterbomb Base


Origami Angelfish Step 2: Now we'll fold it in half from bottom to top. Crease well.

Origami Angelfish Step 3: We'll fold the paper in half again, this time bringing the right side to left. This forms a small square.

Origami Angelfish Step 4: We'll make a squash fold now. Bring the top flap over to the right, open the paper, squash down to form a triangle.


Origami Angelfish Step 5: FLIP paper over.

Origami Angelfish Step 6: Now, make a squash fold on this side and form a triangle. Hey, what is this? It's a waterbomb base!

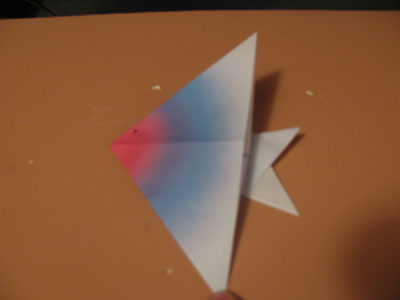
Origami Angelfish Step 7: Now, rotate the paper clockwise 90 degrees so that the paper looks like the photo below. Now, we will fold the top flap on the dash line below.


Origami Angelfish Step 8: Now, we will bring the bottom flap up and fold it over to the top.


Origami Angelfish Step 9: FLIP the paper over and guess what? The origami angelfish is complete!


From Mizuki in Tokyo:
From reader in Maidenhead " A fun thing to do with my friend a mummy and a baby angel fish!!!!! heeheee :) "
From John in Davao City " I made this origami angelfish and showed it to my mom. She was so happy and told me I did a great job. Thanks! "
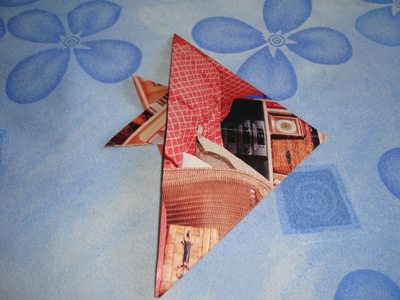
Great job, John! Love how the clock looks like the eye of the angelfish!
From reader in Mandaue:
From reader in Elgin:
From readerin in Philippines " Well, its my first try.I like it very much! the eye is just a rolled paper. Pretty unique huh..?? nice instructions..!! thanx..!!
From reader in Toronto:
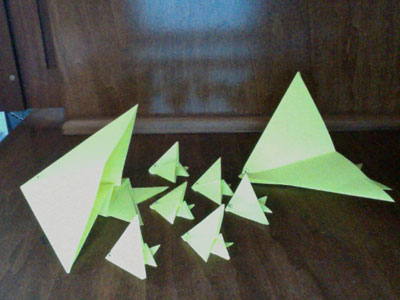
From reader in Cincinnati " My family of Origami Angelfish! This site is awesome! Best one ever! The little ones are the babies and the big ones are the Mom and Dad. Thanks again! "
From Exie in Bluejacket " My 1st origami Angelfish! I hope you like it! "
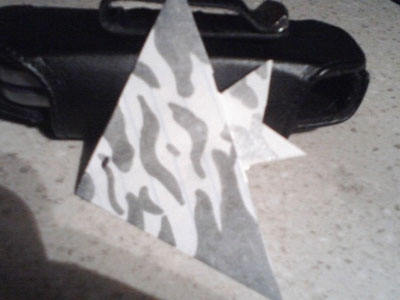
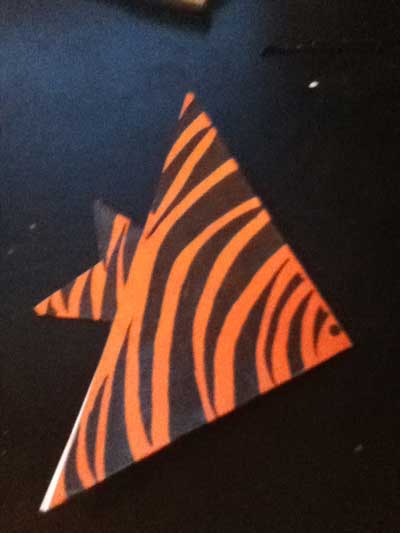
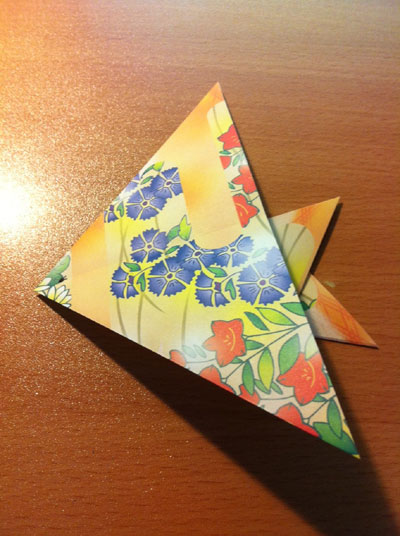
From Jenya in California " This angelfish turned out really well!!! It was super easy to make, thanks to the detailed photos! I didn't have any zebra patterned origami paper, so I used one with flowers on it for fun! :D :D :D "
From Grace in Sparta " This is my origami angelfish! I love how your tutorials are so clear, especially with this one. Thank you origami-instructions.com for helping me make some awesome figures! "
From Paige in Menomonee Falls:

From Padma in Chennai:
From Aniez in Jakarta:

From reader in Norton: