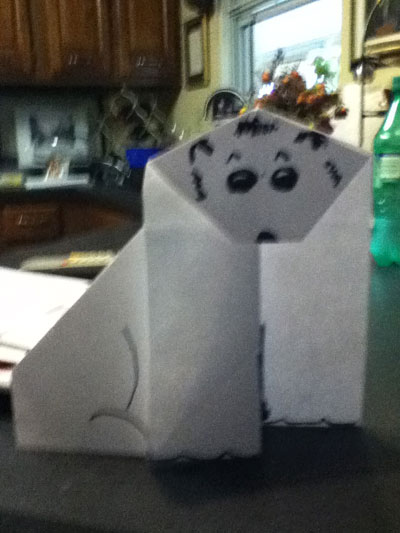
How to Make Origami Polar Bear
Polar bears look cute and cuddly and this origami polar bear is no different. Cute and perfect for you to fold with your kids.
Made this origami? Comment and Submit your photo using the comment box at the end of this page!
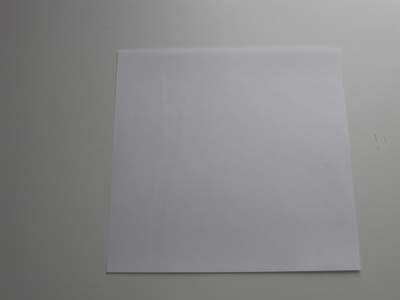
Origami Polar Bear Step 1: Start off with a square 6" x 6" (15cm x 15cm) origami paper. I used an origami paper which was white on both sides.
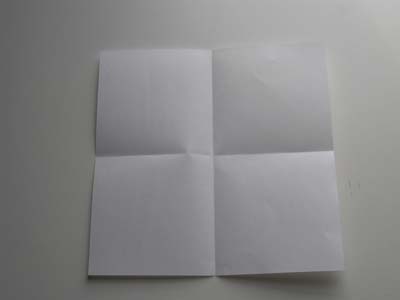
Origami Polar Bear Step 2: Now fold in half on each side so that you get 2 intersecting creases.
Origami Polar Bear Step 3: Now, bring the top left hand corner down to the bottom right hand corner to make a triangle.
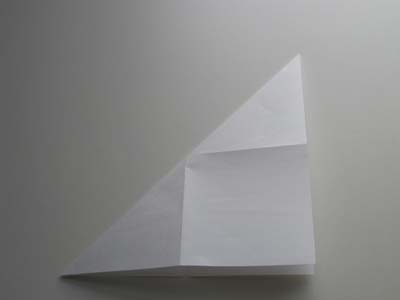
Origami Polar Bear Step 4: Now fold the right side over to meet the center crease.
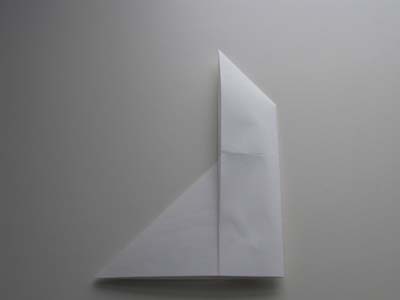
Origami Polar Bear Step 5: Now you will make a squash fold. Open up the flap and press it down. Notice the squash fold is not symmetrical. It angles to one side.
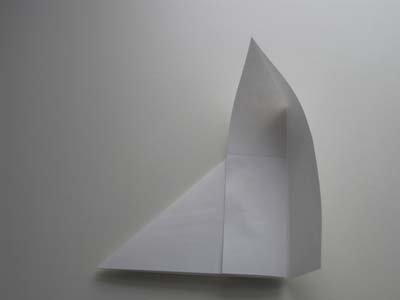
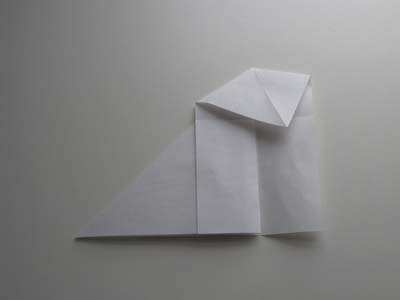
Origami Polar Bear Step 6: We need to make an inside reverse fold which means making a mountain fold on the dash line shown on each side of the paper.
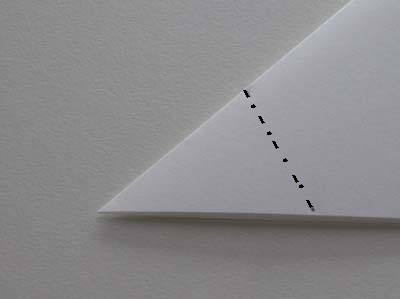
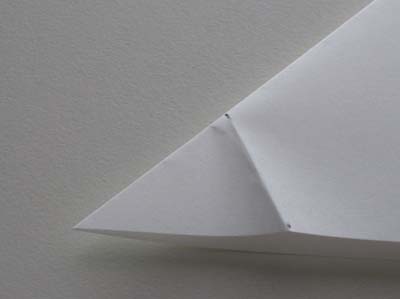
Flip the paper over and make a mountain fold on the dash line.
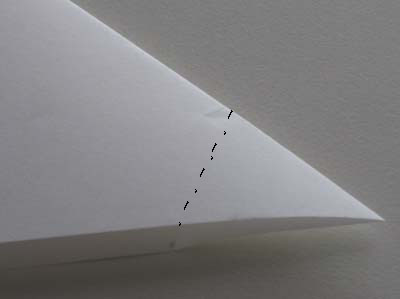
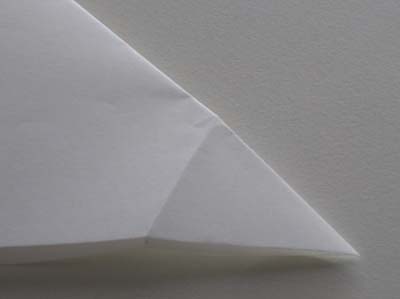
Origami Polar Bear Step 7: Flip the paper over. Open the paper slightly and press the tip in between the 2 sides. Press the paper closed. This is the origami inside reverse fold.
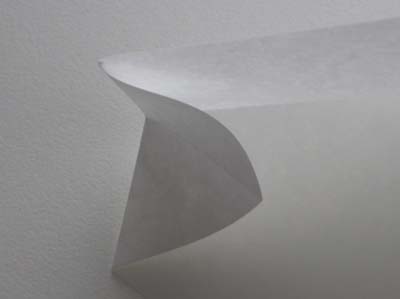
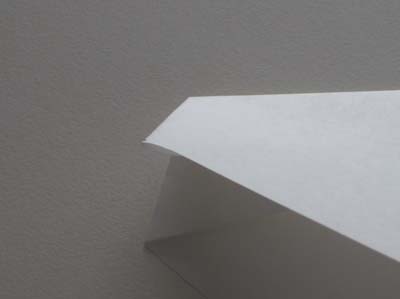
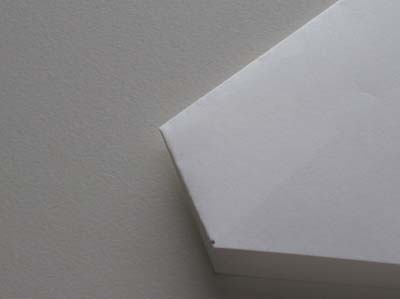
Origami Polar Bear Step 8: and you're done! Your origami polar bear is completed!
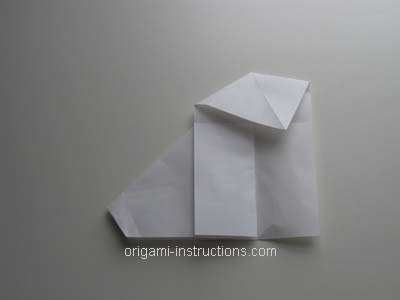
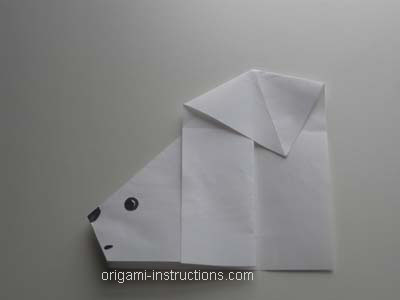
From reader in Austin "The sample picture in the Polar Bear instructions looks weird...as if the polar bear was awkwardly hunched over...so this is my interpretation of the bear...But thanks for the instructions! It was clear and understandable, and the pictures of how to make it really does help, and I'm sure the kids where I volunteer at will love making this!"
Reader - Now that you mention it, the polar bear above does look hunched over. Thanks for making it better!
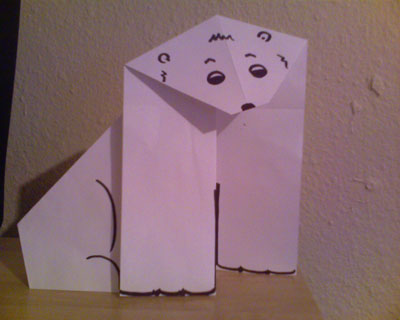
From Michael in Centerville " I made mine like the reader from austins design. This design is really great. "
