Origami Flapping Butterfly
The photos and folding instructions for this origami flapping butterfly was submitted by our reader Gokul Swamy. He saw the finished product and a few steps on a tv show once, but made up the rest by himself, and sent us the photos and text below. It's a fun action toy, check it out.
Made this origami? Comment and Submit your photo using the comment box at the end of this page!
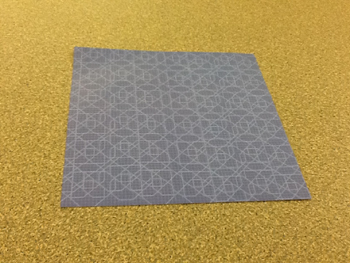
Start with a square of origami paper, main color side facing up.
1. Fold the paper in half, in half, and in half again [editor's note: three (3) valley folds]. You should end up with 8 congruent pieces [editor's note: 8 segments of the same size and shape].
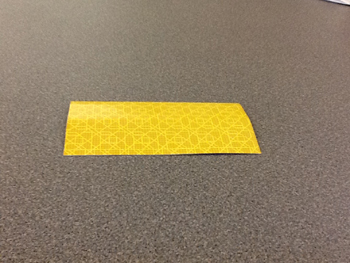
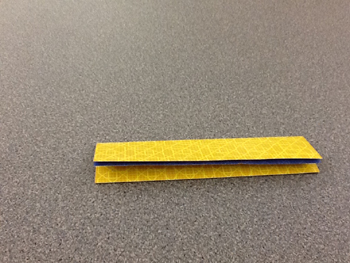
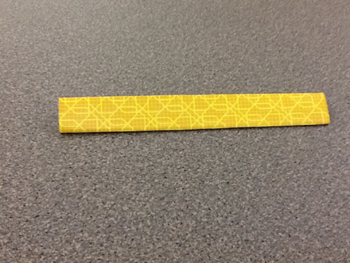
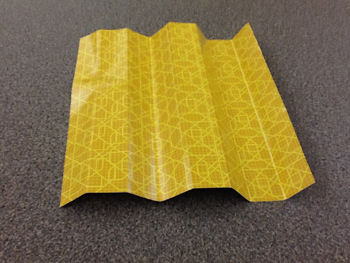
2. Do the same thing horizontally. You should now have 64 squares. Be sure to make these as accurate as possible, or your butterfly will look malformed.
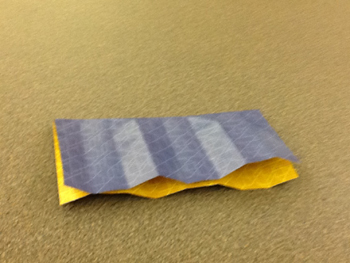
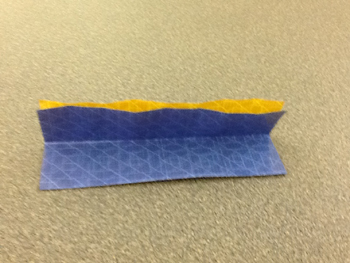
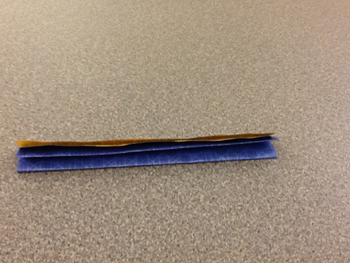
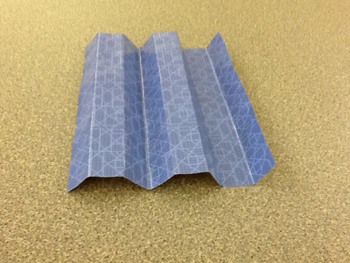
3. Fold 3 of those segments on top of 3 others, then fold 2 of them over the other 1, such that one hangs out.
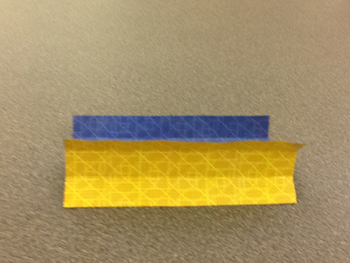
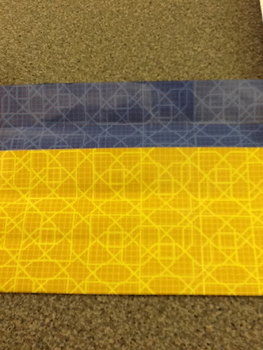
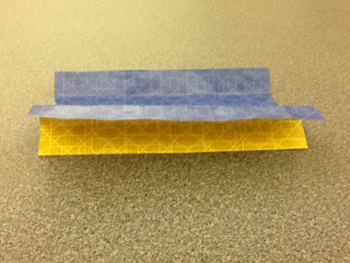
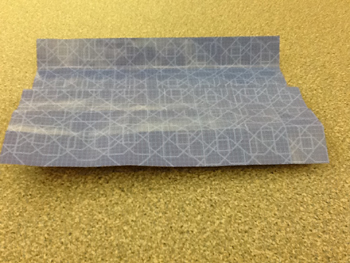
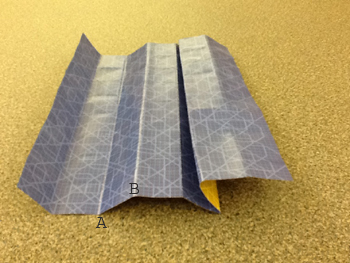
4. Do the same for the other side [editor's note: you will have to re-crease the folds A and B; mountain fold to valley fold and vice versa].
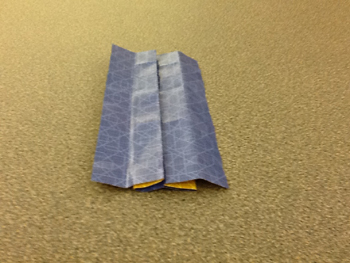
5. Do the same thing horizontally , using the lines perpendicular to the ones you just folded on, and do the same for the other side.
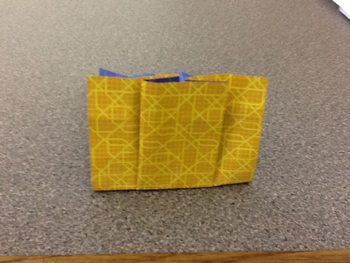
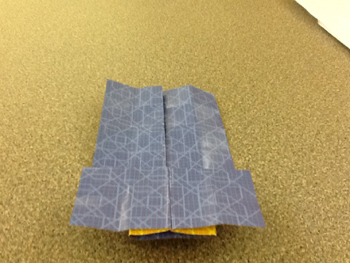
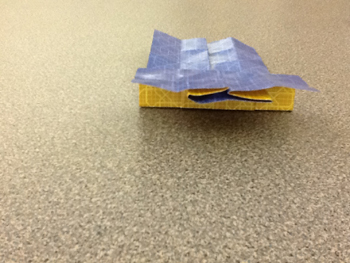
6. You should end up with 4 congruent squares, as pictured below:
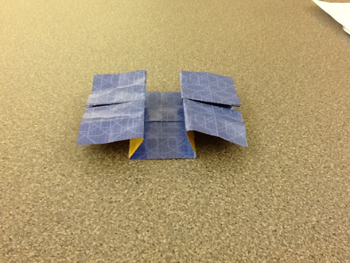
7. Fold one of the double layers corners up. 8. Do this for both sides.
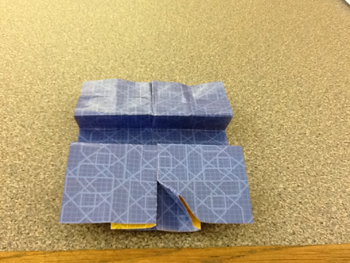
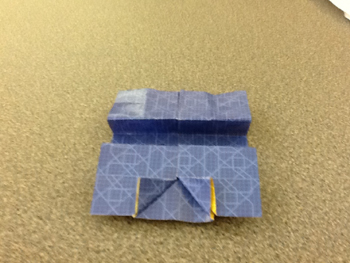
9. Do this for the other 6 corners.
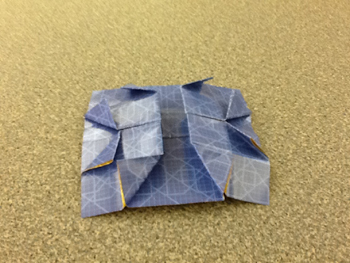
10. Unfold the corner, push in and under, then flatten [editor's note: i.e. an inside reverse fold].
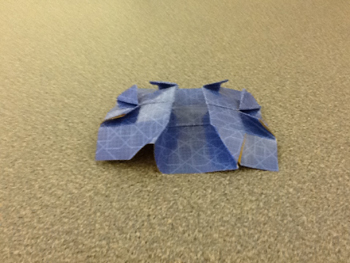
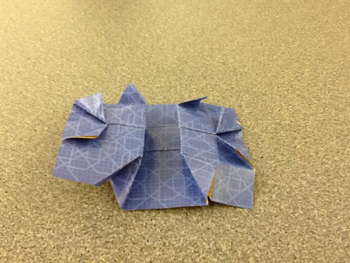
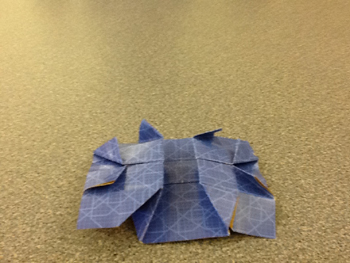
11. Do the same for the other side.
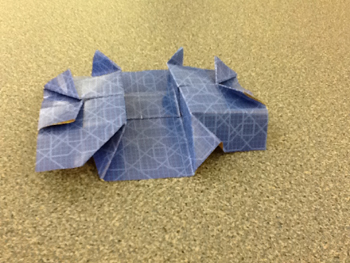
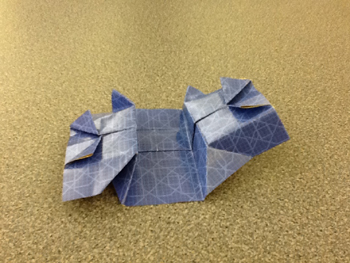
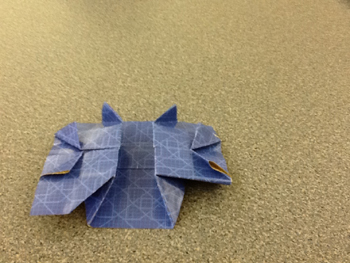
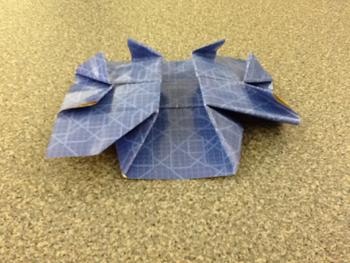
12. Do this for the other 6 corners, and flip over.
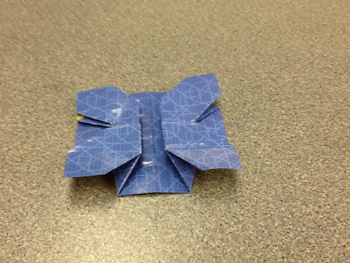
13.On one of the sides that doesn't have a pocket, nor is elevated, lift up one of the segments, and tuck it under.
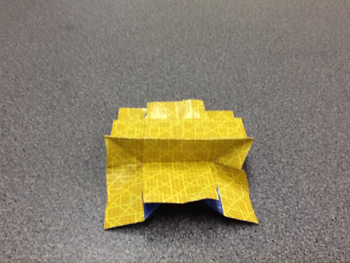
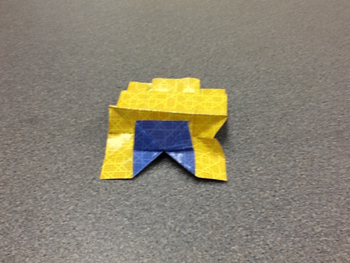
14. Turn to the other side, and do the same.
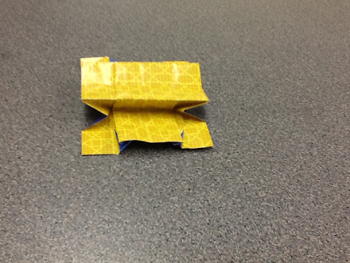
15. You should end up like this:
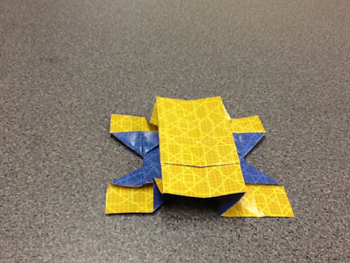
16. Then turn to one of the sides with a pocket and that is elevated, and tuck the side in. Be careful not to rip it!
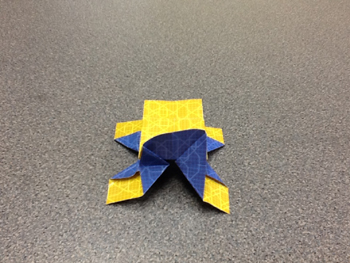
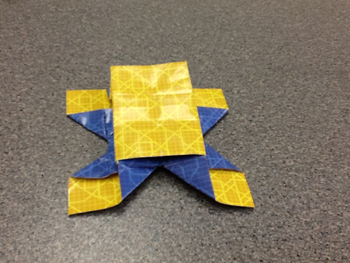
17. Do the same for the other side.
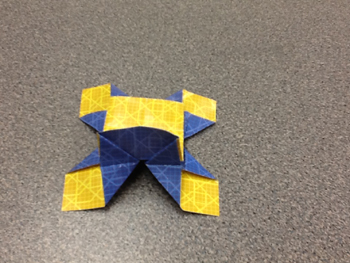
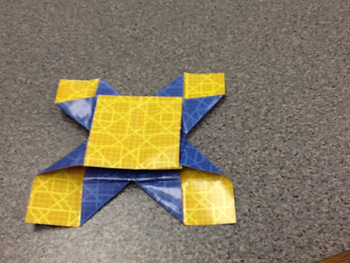
18. Fold one of the corners slightly in 19. Do the same for the other 3 corners.
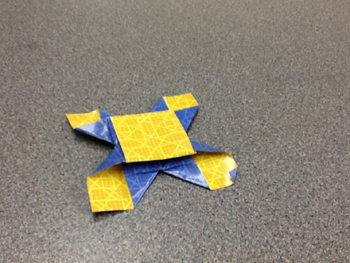
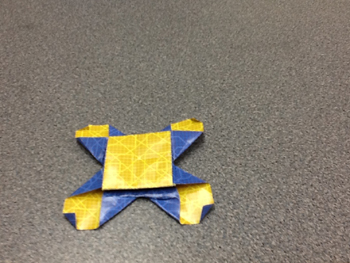
20. You're Done! Congratulations! The next steps are how to make it flap.
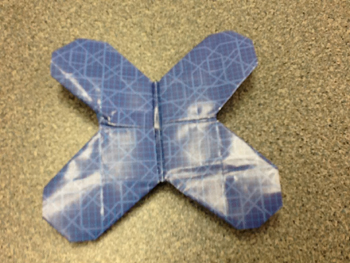
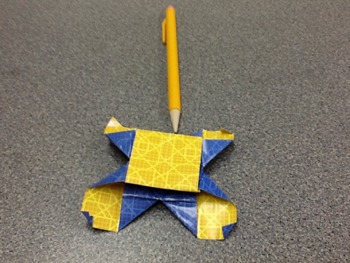
21. Flip it over, and place your fingers in the side without the flaps, [as shown by the pencil below]. Make a pinching motion with both fingers and watch your butterfly flap. 22. Enjoy!
Also check out our video for how to make it flap:


