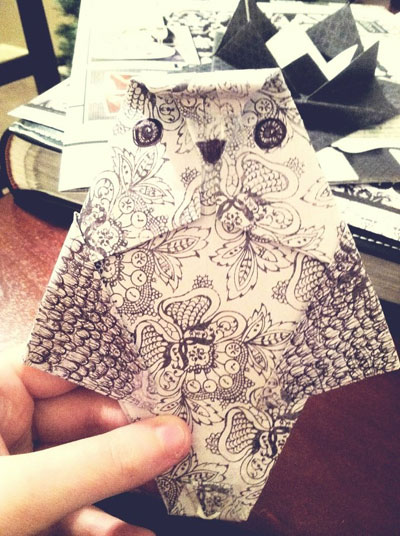
Origami Owl Instructions
These origami owl instructions are fairly simple. You can use multicolored origami paper to make realistic patterned owls.
Made this origami? Comment and Submit your photo using the comment box at the end of this page!
We also have video instructions for the origami owl:
Start with the origami bird base. This is a commonly used base in origami so we've created a separate page of instructions for it. Or you can watch the video embedded below.
Fold down corner A:
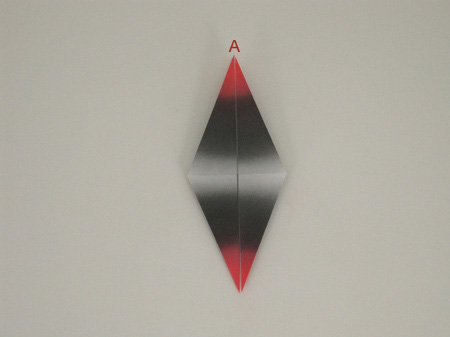
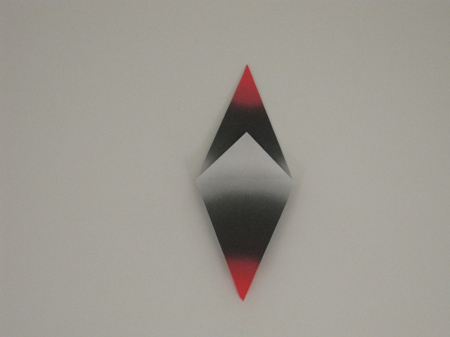
Repeat on the backside:
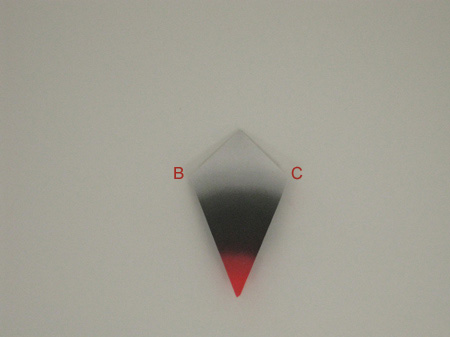
Now fold corners B and C to the centerline. Repeat on the backside:
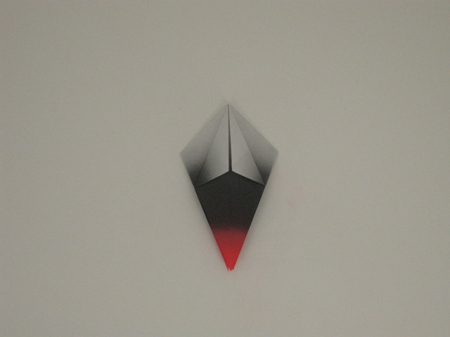
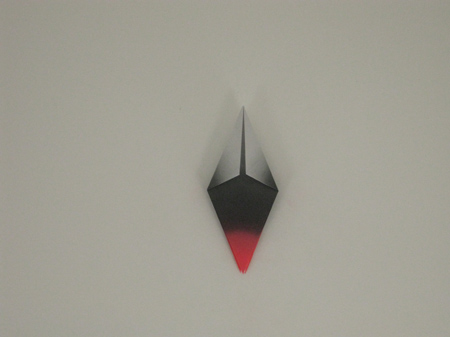
Now reach between the front and rear flaps as shown. Pull the corner up and outwards as shown to form the left wing:
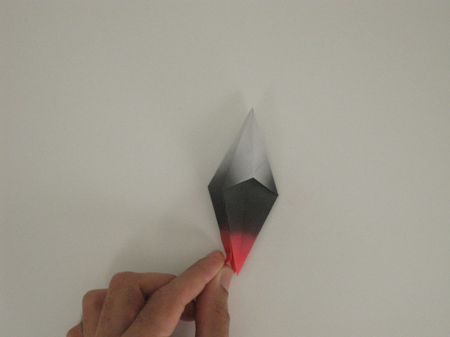
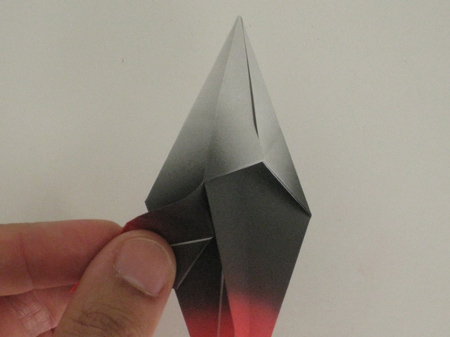
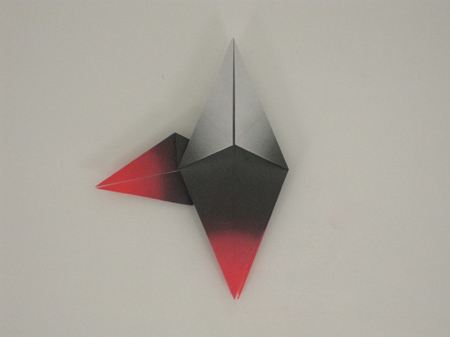
Repeat on the other side to form the right wing:
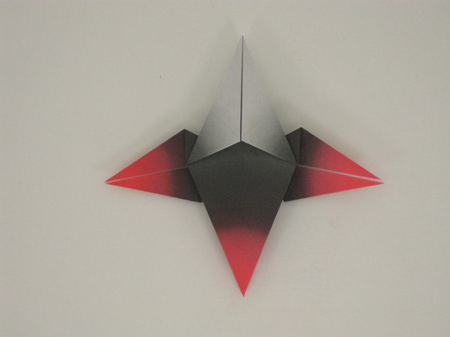
Now fold the top point down, then back up again...
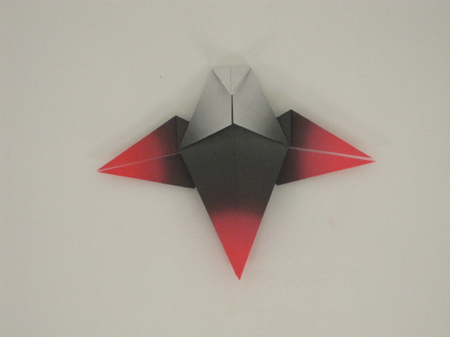
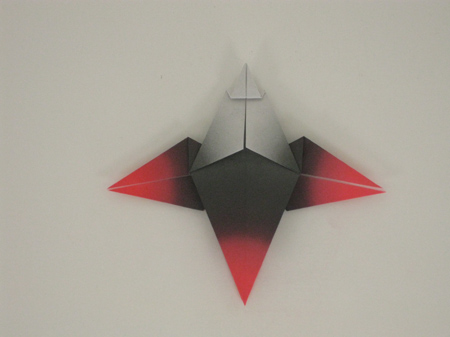
...and down one more time, to form the head and beak of the owl.
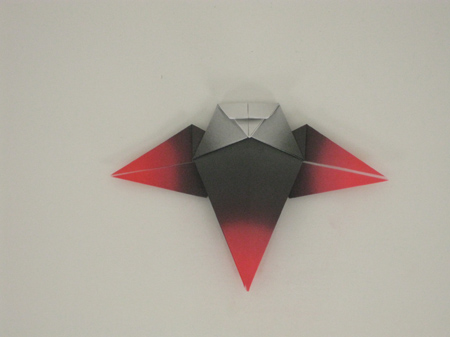
Now fold the bottom point up, and back down again, to form the tail of the owl:
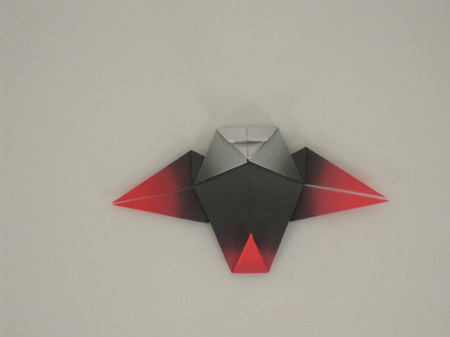
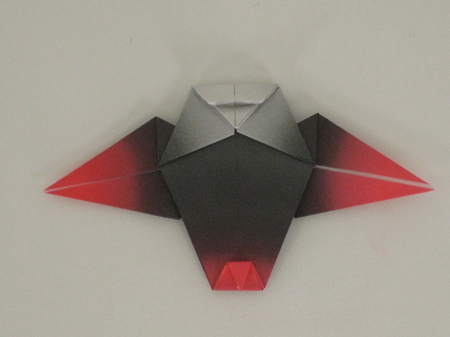
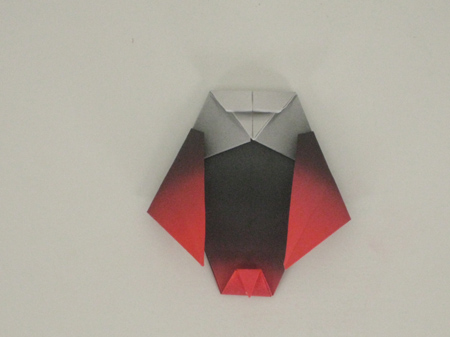
Fold the wings downward, and your origami owl is complete! Add some eyes with a pen, for the finishing touch. This bird is a real hoot!
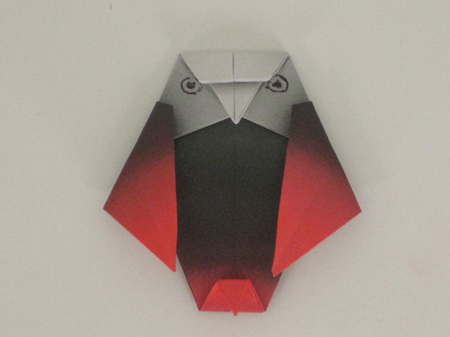
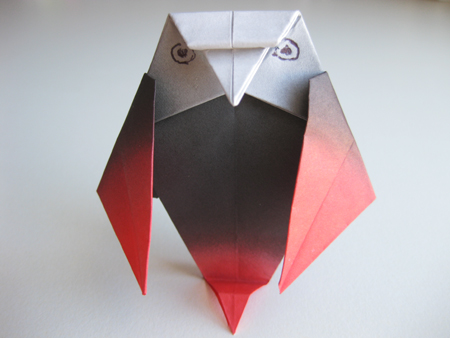
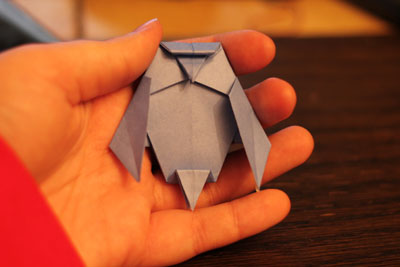
From Pierce in Linn Creek " This is my origami owl. I think it turned out pretty good. This is such a cool website :) "
Thanks for submitting the first reader's origami owl photo, Pierce!
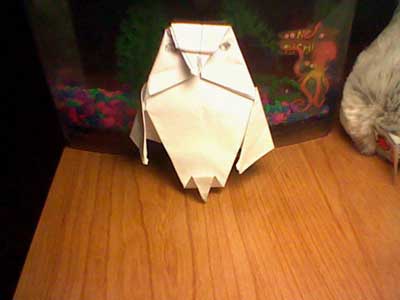
From Sammie in London " This lovely owl made an nice addiction to my origami zoo :) Although he looks a bit lonely so I'm making him a friend now. The instructions worked a treat I would say :) Thank You, guys :) "
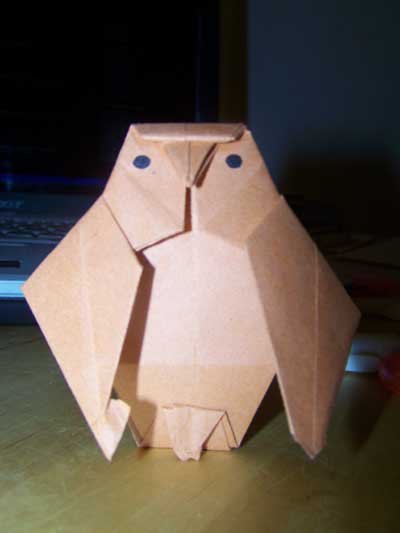
From Camilla in Ottestad Norway " Owls are my favorite! "
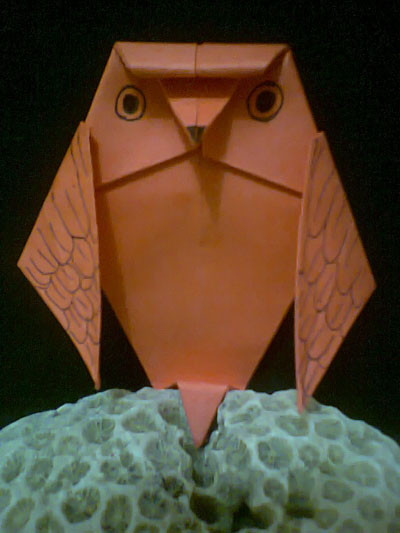
From Ybeth in Marikina City " an orange origami owl. look, i even drew eyes and feathers on it! ^_^ "
Looks great!
From Kayla in Jackson " My first origami owl. I love the paper I used & I drew feathers and eyes on him. His name is Owlie Mandel. "
Love it and the name too! :)
