

Origami Bird Instructions
This bird is a traditional origami design that is easy to make.
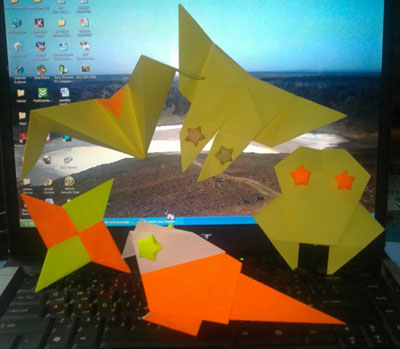
Made this origami? Comment and Submit your photo using the comment box at the end of this page!
Start with a square of origami paper, colored side down. Then valley fold along the diagonal as shown, then unfold.


Now fold the corners A and B to the center crease-line you just made.


Turn the piece over, and valley fold along the line shown.


Fold corners C and D to the centerline, then unfold.


Flip the piece over again. You'll now make a squash fold using the crease lines you just made as your guide.


Make the same squash fold on the other half of the piece. Then make a valley fold as shown to form one of the feet of the bird.


Repeat on the other side to form the second foot. Now fold the piece in half, and rotate 90 degrees counterclockwise. It should now start to look like a bird, as shown below.


Make an inside reverse fold to form the head and beak. Then make a crimp with mountain and valley folds as shown to form the tail.


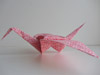
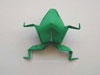
Now your origami bird is complete! You can decorate with eyes, feathers, etc. if you like.

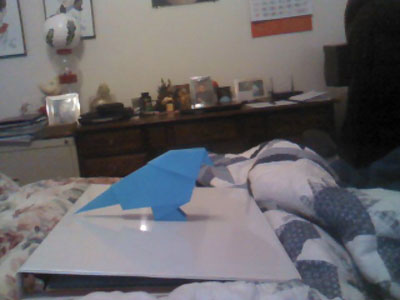
From Sean in Covington " This is one of my favorites, the origami bird. "
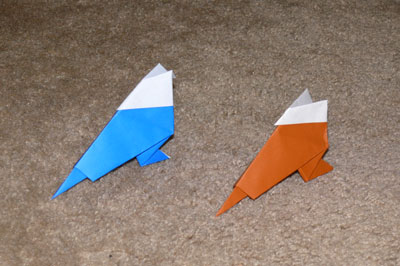
From Corey in Atlanta:
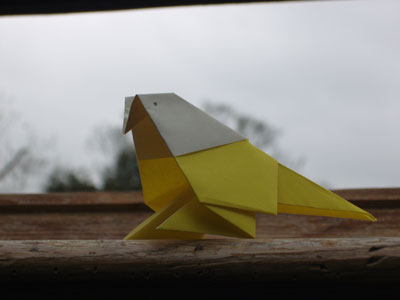
From Chiew in London " The origami bird was easy and fun to do! Love it! "
From Padma in Chennai " I am doing an origami album for my course, this site is been very useful for me! "
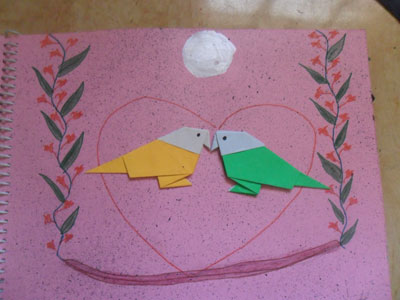
From reader in Taif City: