Origami Daisy, Part 2
Welcome to Part 2. Keep going, this origami daisy is really worth it! Scroll down to see the beautiful folded origami daisies!
Made this origami? Comment and Submit your photo using the comment box at the end of this page!
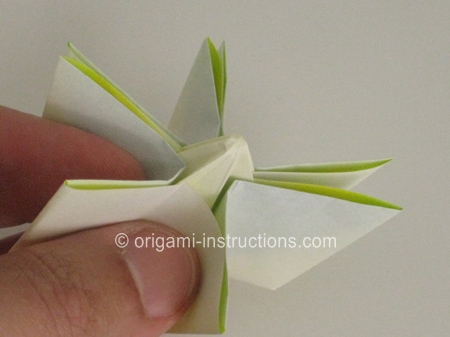
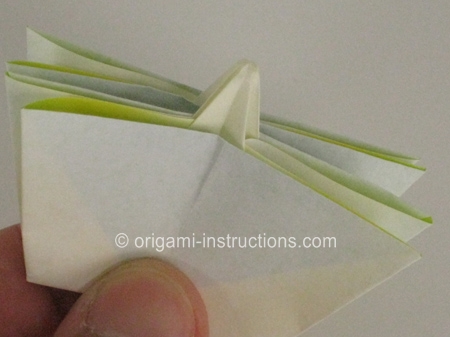
Now flip the piece over, and start gently collapsing the sides inwards. Continue as shown in the next seven photos, until you have something that looks a bit like a boat.
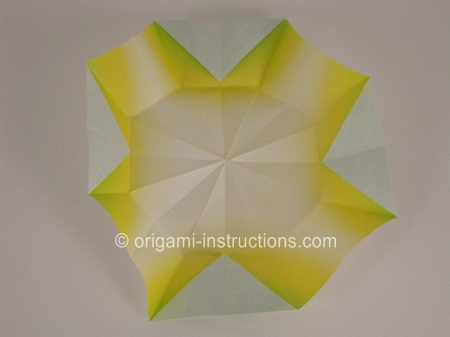
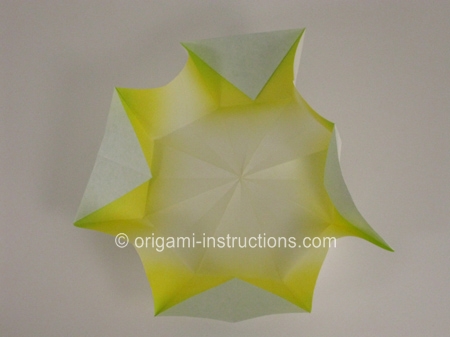
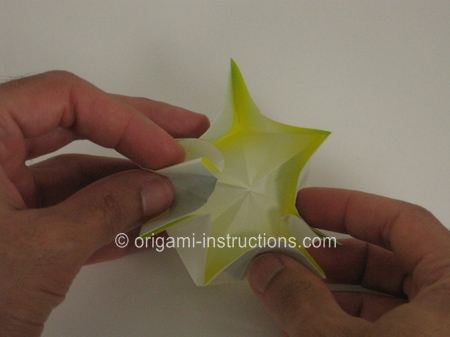
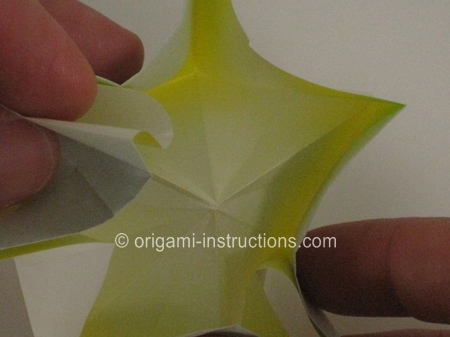
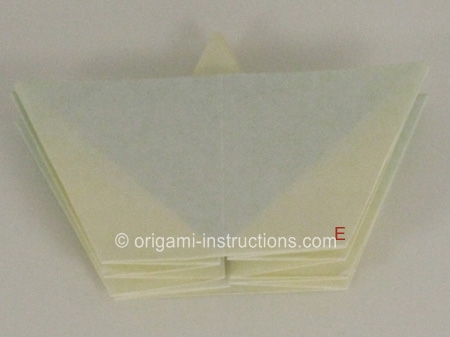
Now take corner E and fold it to the centerline as shown. Repeat this fold 7 more times on the other corners (for a total of 8, remember?).
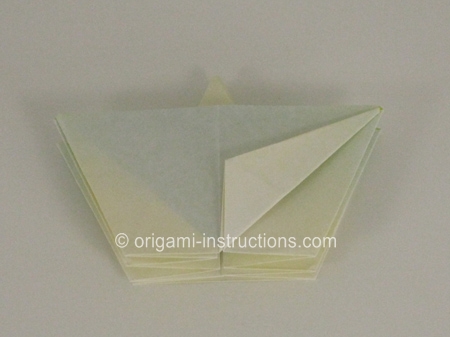
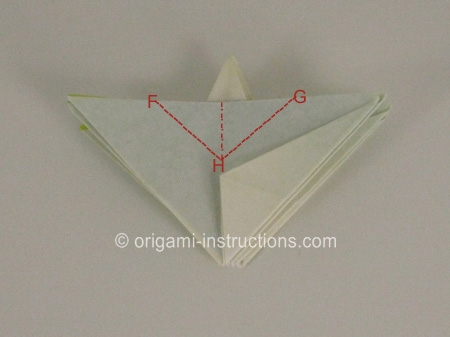
Next, you will need to make a triangular squash fold, where F,G, and H are the corners of the triangle. See the next three (3) photos for how this is done:
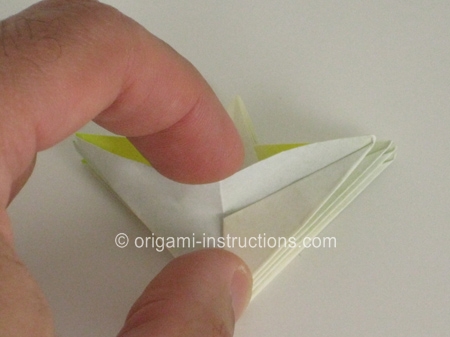
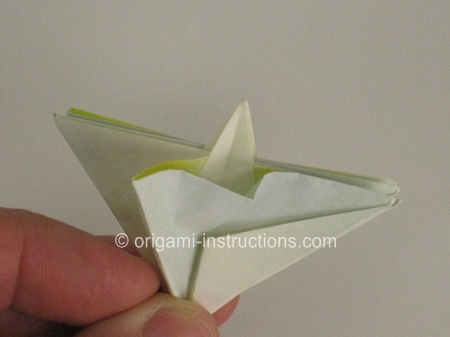
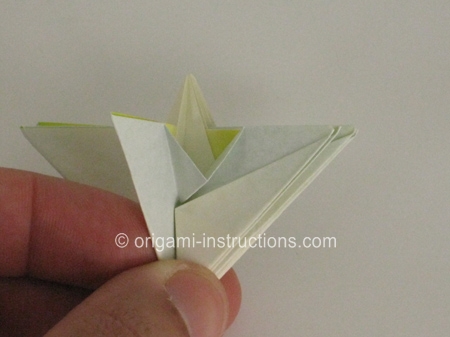
Repeat this triangular squash fold between all the flaps, eight (8) times total:
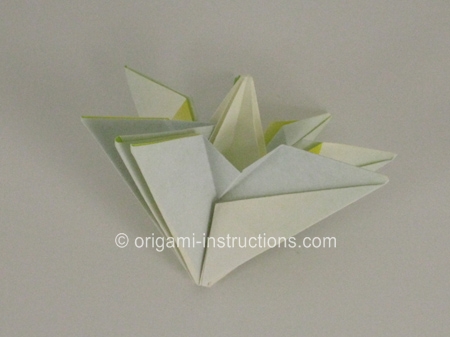
Now hold opposite petals of the daisy and pull very gently, expanding the middle portion of the flower just a little. Then move on to the neighboring set of petals and pull a little bit more.
Work your way around the flower until the middle piece is fully expanded and puffy.
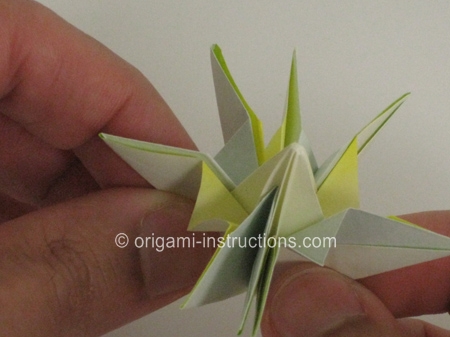
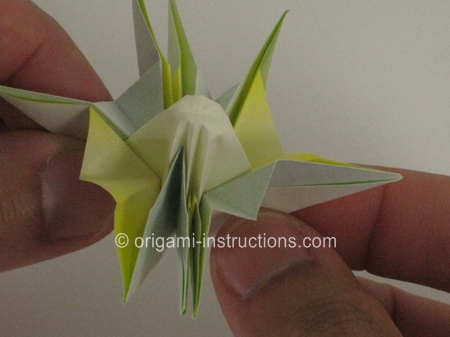
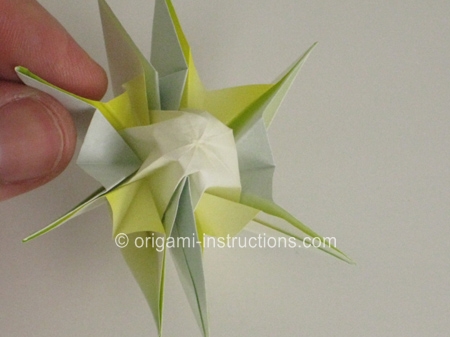
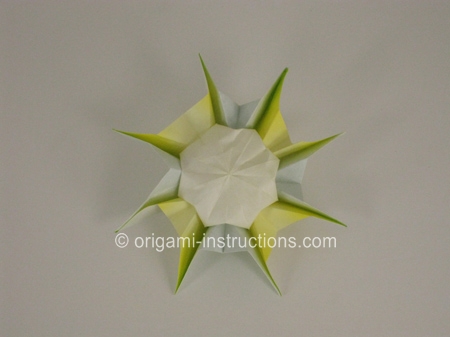
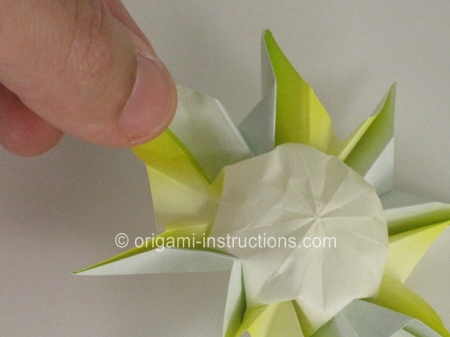
Now we need to shape the petals. Using your thumb and forefinger, expand each of the eight (8) petals as shown. Now your origami daisy is complete!
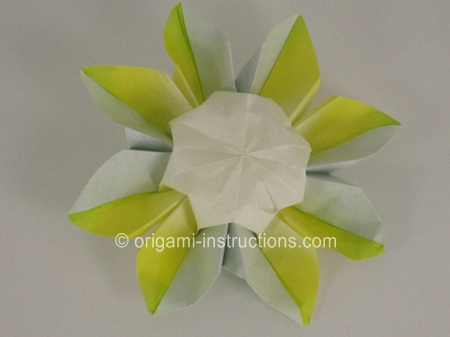
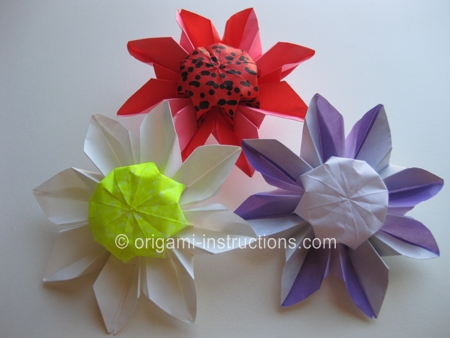
Daisies come in many varieties and colors, so use your imagination to come up with different flowers. Below is a double-sided origami sheet (red on one side, pink on the other).
A black marker was used on the central portion of the sheet, and the result is very much like a red Gerbera Daisy.
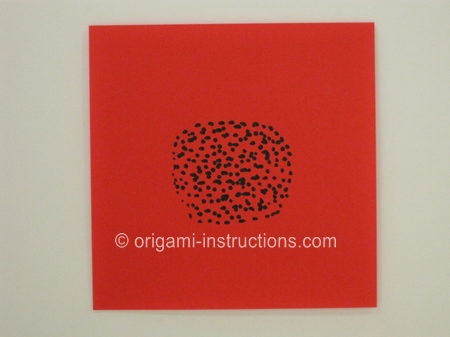
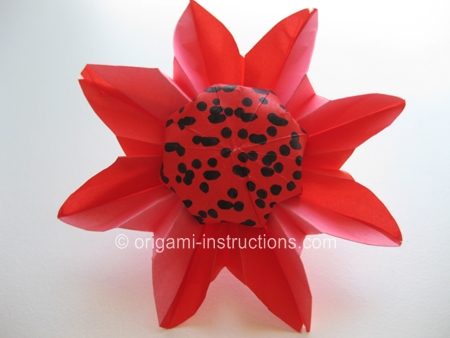
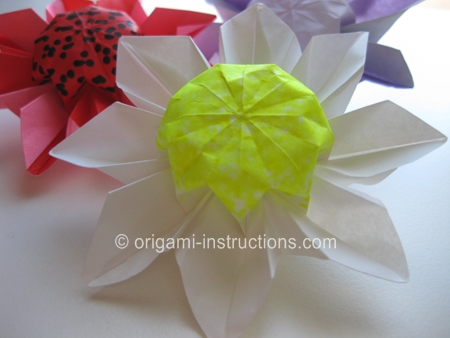
If the sheet is white on both sides, you can color the center of one side with a yellow highlighter, which will fold up into the Common Daisy:
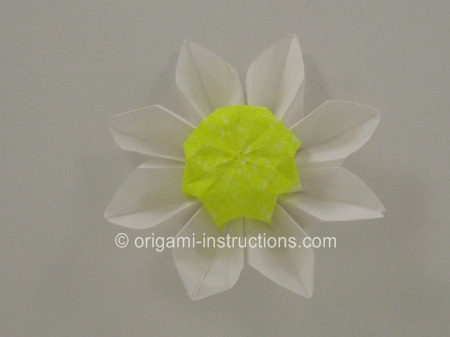
Here's an assortment of daisies. Can you figure out how to make a Sunflower?
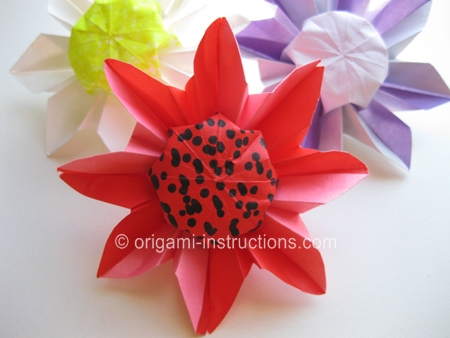
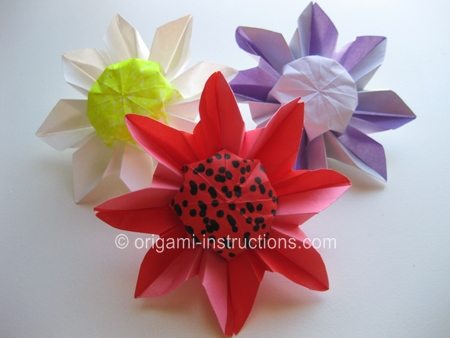
Many readers have folded and submitted photos of their origami daisies. Check out their photos and do try folding one yourself!


